Things can’t be that bad. I counted 17 baby shrimp!
– Elisa, February 2024
Prelude
Three-ish months ago (Nov 17, 2023), I set out on an adventure to build a living wall. I had just moved home, and I was thinking of ways to decorate my room and now office space. As it turns out, picture frames for 3 foot long posters are not as readily available at a budget price, even when shopping second hand. I opted for a project I had been wanting to try for a while, putting up my plants on wall. The rational was multi-fold.
Firstly, it has been a life long dream to have a living wall in my own space, with my preferred selection of plants. No fake moss. Secondly, it would take up space on the wall, and should be much cheaper than frames. Thirdly, if I could rig up an automated watering system, this would alleviate the need for leaving my plants unwatered and uncared for during long periods away, or asking someone else to take care of them. All of this sounded entirely sensible to me.
Act I: Making a Watering Wall
So, I sized it out. I knew I needed a waterproof support frame, and some sort of water permeable fabric. I wanted to add a watering system, so I decided to build the frame from PVC pipes, drill holes at the top, and pump water through one end. Dimensions were constrained by the largest garden/landscaping fabric I could find at a reasonable price, 3 feet across. I had been hoping for 5 by 5 feet, as I really wanted it to fill up the space in Zoom calls, but we do what we can. I estimated the maximum head a pump would need to be able to push up to the top of the frame, and multiplied it out by the internal PVC dimensions (I went back and forth inner dimensions, and decided that ½ in pipe would be sturdy enough if I built a central cross feature in the frame). Some quick googling later, I figured I would need a pump that could allegedly do at least 10 ft of head from the main ½ in outlet. I came up with a few configurations, and decided it would make sense to pipe the water out bottom side of the frame.
My shopping list looked something like this:
- 2 10’ lengths of ½ in PVC pipe
- 5 T-joins
- 1 cross join
- 3 elbows
- 3’ width fabric, roll of
- 40 gph pump
- Flexible hosing (to link the pump and frame) and connectors
- PVC cement
- Something to store water in, at least 3’ + a few inches wide to accommodate for the pump connector
I already had a saw and drill with various bits. I purchased the pump a day in advance to look at the outlets and what was needed to join the pump to the frame. Now it was off to Home Hardware. They didn’t have enough T-joins for ½ in pipe. Next step, Home Depot. The folks there were kind enough to ask what kind of project it was. As it turns out, white PVC pipes are necessary when dealing with potable water. For my use case though? Electrical conduit would do just fine at half the cost. Great! They were out of conduit in the dimensions I wanted, so I picked up the PVC connectors before heading on over to the RONA down the street. I finally found the conduit, ½ ‘’ ID and 3’ in length. I purchased 2 10’ lengths and wedged them cautiously into the car. At some point, a trip had been made to Canadian Tire to pick up a giant Rubbermaid tote. It was a ROUGHNECK, and claimed it wouldn’t crack in winter conditions. I had been hoping for a flat bottomed box or planter, but an internet search had revealed that most nicely formed boxes were capped at around 48 inches or less. No matter. I could figure it out later.
One night of staying up working on impromptu projects wasn’t enough (I had built a Corsi-Rosenthal box the previous night and spent far too long perfecting the box fan coverage around the corners). I sawed the pipes to length, using a 30 cm ruler as a guide, sanded the edges down with a rasp, and finished the edges with a coarse grit sand paper. I gingerly put all the pieces together with the connectors and flexed the frame. I felt like it would hold. I cemented the pieces together and let it cure outside. At this point, night had fallen and I took a break for dinner.
The cement had cured by the time I was done, so it was time to do a water test. Holes were drilled and the connectors added. At this point, I realized that the connection point to the frame sat belowthe frame, and not to the side like I had planned. But it was already cemented in. I figured it wasn’t a big deal. We filled a bucket with water, dropped the pump in, and turned it on. It worked! The disbelief on our faces belayed the lack of faith in my online water head calculation. But the drill spacing and flow rate worked perfectly to lift the water to the top of the frame, and distribute the outflow across the drill holes. Naturally, I had to move on to the next step, seeing if the flow would be enough to saturate the garden fabric.
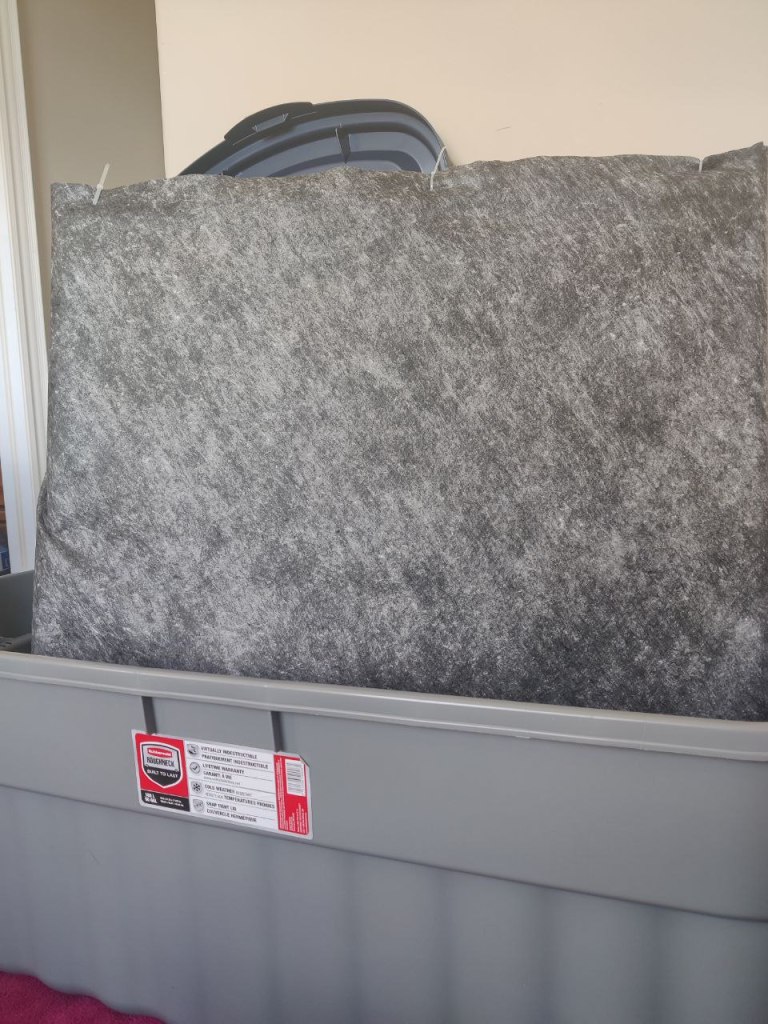
I lugged the frame and the roll of fabric outside and started wrapping it tightly on the frame. I was doing this unsupervised and alone at this hour, and naturally ended up making some impromptu decisions in the dimming light. I decided to make the fabric wall by wrapping around the frame three times. After folding the frame in, I punched some holes through the fabric with the tip of a pair of scissors right by the top of the frame, and zip-tied it in with some spare zip-ties I had found in my bag after some field work. I tested again with water. Slowly but surely, the compressed fabric against the outlet holes of the frame began to take up water. Holding the frame perpendicular to the ground, water dripped through the fabric instead of the air space between the front and back.
I chucked the whole thing into the Rubbermaid tote (Fig. 1). Job well done, I thought.
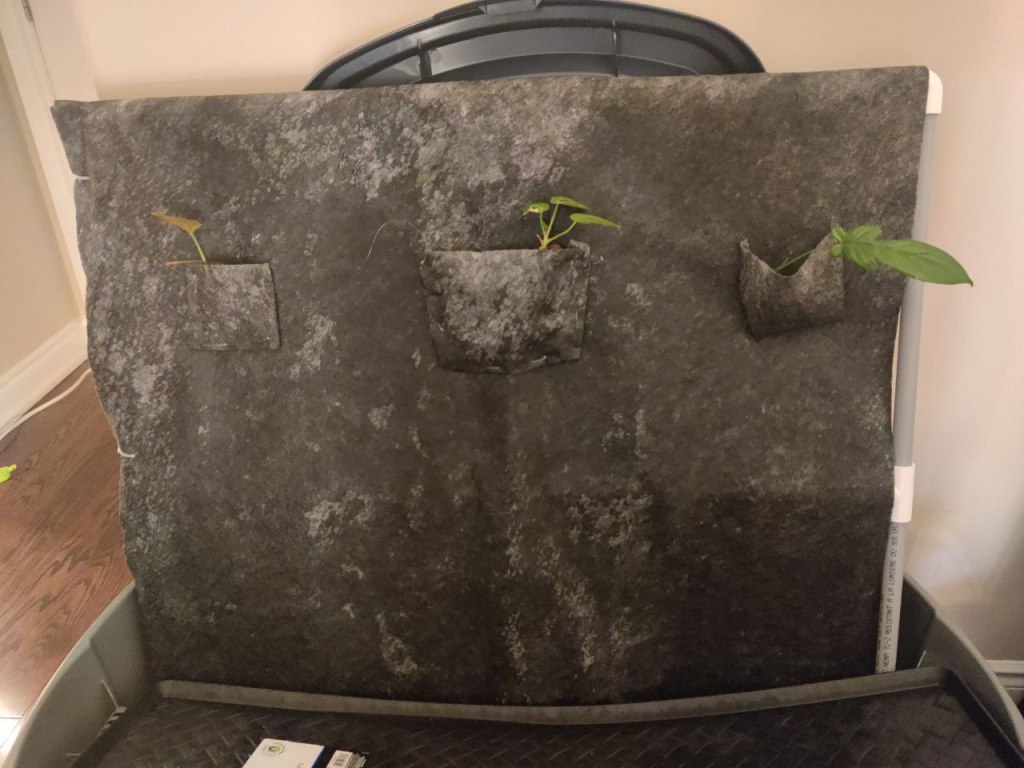
Intermission: Watering Wall to Living Wall
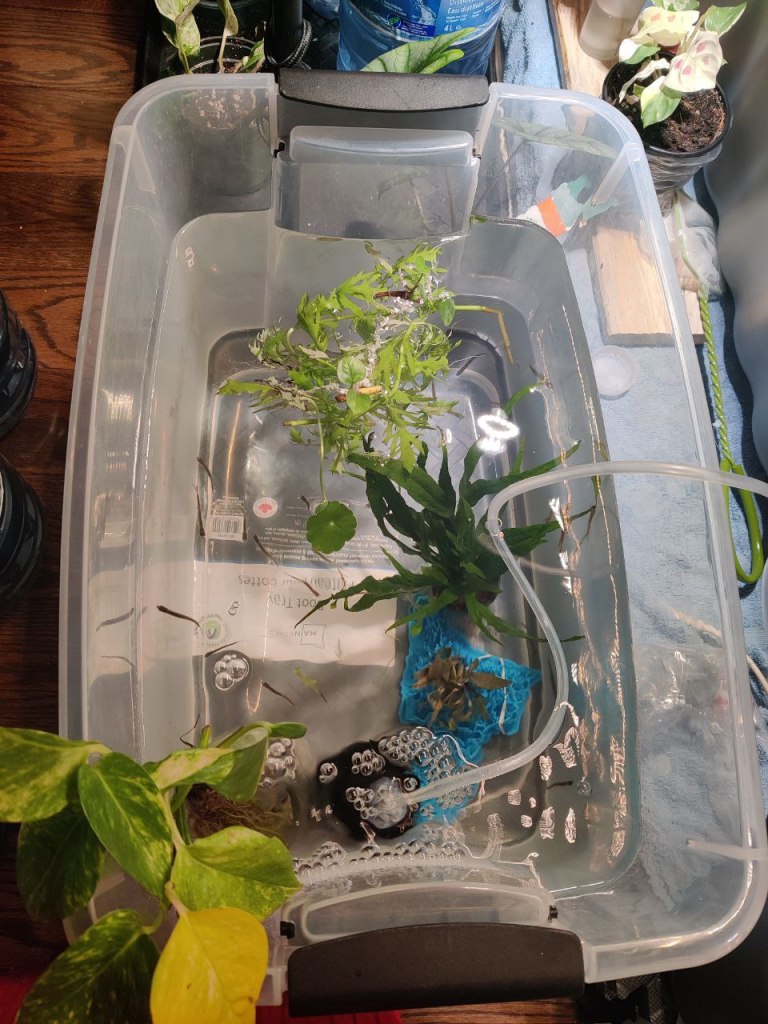
I lack some clarity on the timeline for the next few parts, but I eventually stitched a few pockets made of cut rectangles from the fabric using fishing line to the “front” side of the wall. I stuffed the pockets with a lower layer of LECA, placed some plant cuttings in, and secured them with more LECA. The tote had been hauled up to my room and propped up against a wall. It had been filled with well over 20 gallons of water, enough to avoid running the pump dry. Over the next few days, I would plug in the pump to “water” my plants (Fig. 2). One issue I knew I would be running into was the stability of the frame. I wanted it to be vertical. With it leaned up against a real wall, there were certain to be mold issues and water damage.
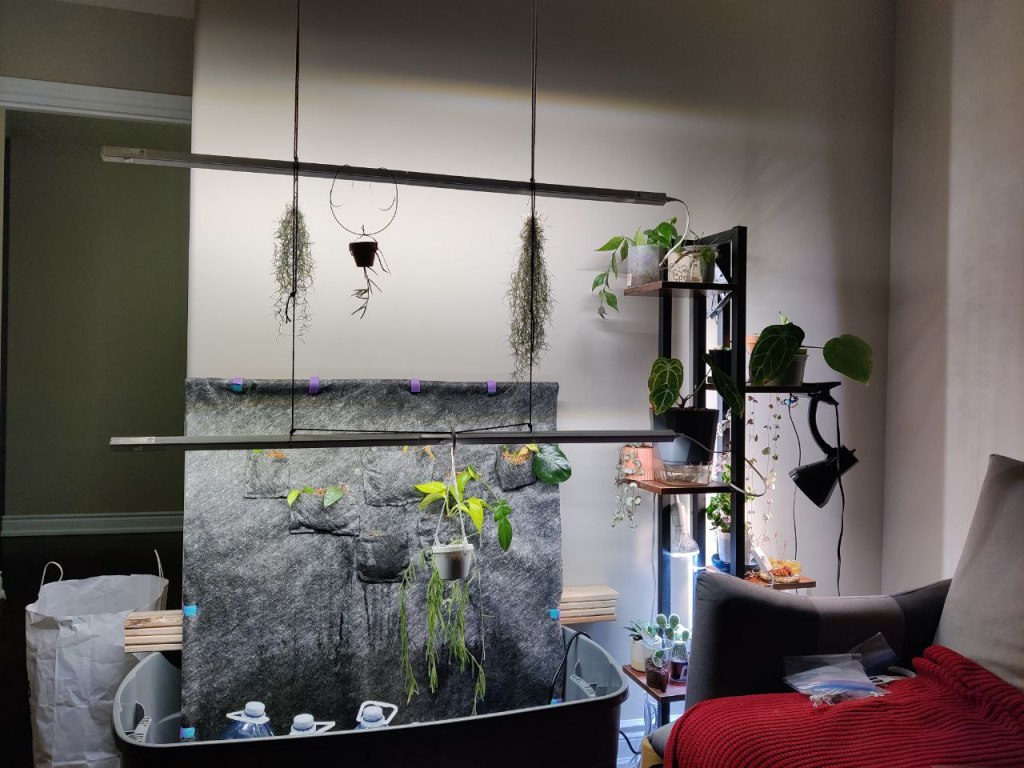
I tried a few different configurations, including filling the tote with 1 gal bottles to brace it (and limit the total water volume in case the tote cracked), and propping it up on an overturned planted when the awkward angle from the pump connector started really bothering me (Fig. 3). I was hoping that eventually I could get some 3D printed supports in.

Act II: Water Quality and the Clean-up Crew
A week later, I discovered that the water in the tote was… unpleasant. It was time to cycle it out. I ran into my first issue here. The frame was now waterlogged and quite unwieldy. Hauling a flexible plastic tote filled with ~80 L of water was also not quite practical (Fig. 4). This resulted in a very silly, slow water drain by repeatedly filling gallon bottles and dumping them out into the bathroom while the frame had been lugged into a bathtub while this was happening. This would not do.
I mulled it over for the next week or so. The second time I had to do the tote lugging and gallon bottle juggling, I decided that I was over it. Either I could disassemble the wall for a later date, or get something to clean up my water. The plants were doing great though, and I didn’t want to disturb them. So I thought, shrimp! Shrimp would be my solution.
Some quick googling later, I found that Amano shrimp were great algae eaters and detritivores, quickly breaking down plant matter. I had decaying leaves in the tote already, and a filter in the pump. Surely it would work out! (For those who do not know, ammonia is a product of decaying matter, and is highly toxic to various organisms. Denitrifying bacteria convert ammonia to nitrite – also toxic, and then to nitrate – less toxic). Just in case though, I would throw in some extra dead leaves and wait another week. The time line becomes even more blurred here. Did I buy the freshwater test kit then? Or did I wait until I first got my shrimp?
I recall being excited to find an aquatics shop in London when I was visiting. We made a quick stop. I asked for 3 Amano shrimp, a marimo moss ball, water wisteria, some pellet fish food in case there wasn’t anything to eat for the shrimp, as I didn’t have any algal issues. I was very tempted to get a few guppies, as I recalled them to be easy to take care of based on a few conversations I had had with a friend, but I decided to take it slow.
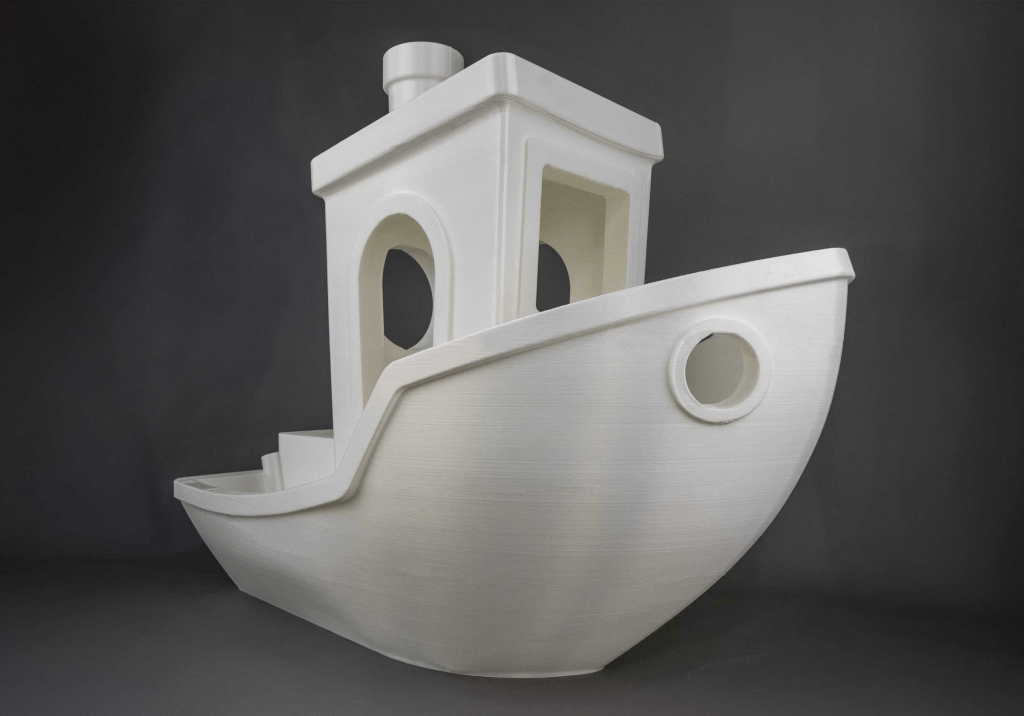
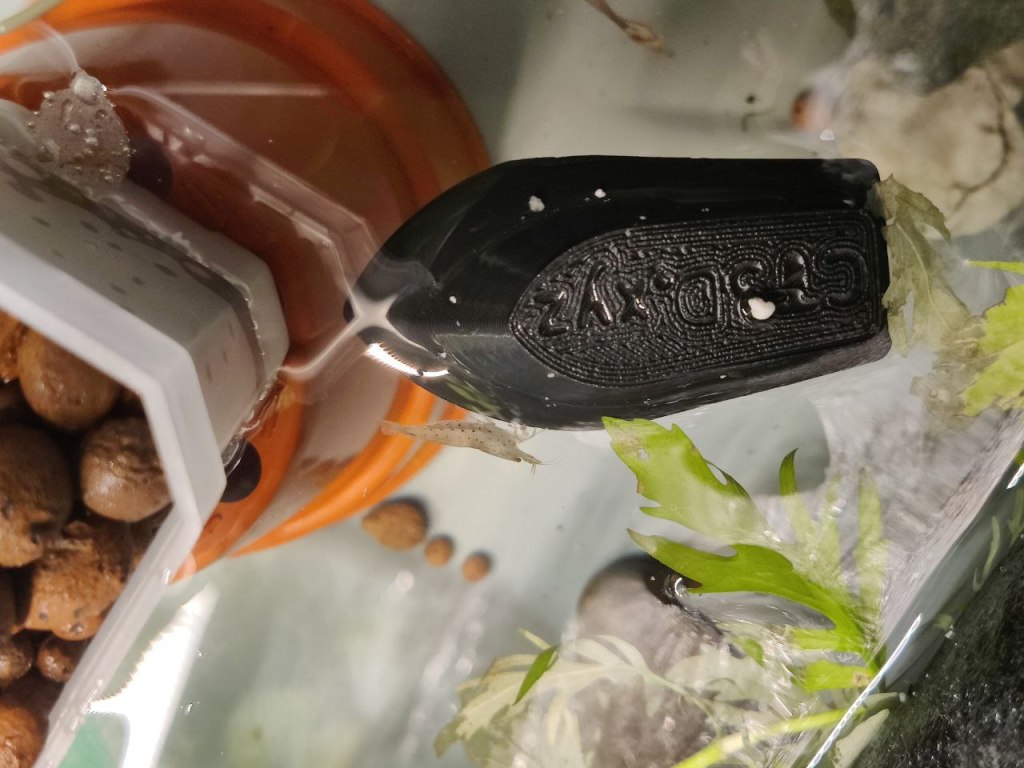
I brought the shrimp home, added a mesh beg to my pump to block the inflow of water, and I slowly released them into the tank, thinking that any beneficial bacteria that road along in the water might help. Over the next few days, the shrimp chomped away at the debris building up on the moss ball, and hid under various 3D printed benchys (Fig. 5) scattered throughout the water. All was good (Fig. 6).
I instantly fell in love with the little shrimp clomping around, and decided perhaps I could get a few more. After all, amanos were nearly clear in colour, and I could never find them in the tub. I went and visited a shop I had originally wanted to go to (they were closed for unknown reasons), and explained my situation. They confirmed that I wasn’t really planning on breeding, so amanos, plus whatever fun coloured shrimp I wanted would probably work. This time I ended up with 3 amanos, 3 painted fire reds (neocaridina), and 3 guppies.The red shrimp were on sale, so that made the decision fairly easy for me. The guppies were selected at a ratio of 2:1 female to male, to distribute the male attention between the fish.
This is around the time when things started going wrong. The new shrimp seemed to be fine, but the old ones were listless and would curl up at the bottom of the tub. That was odd. I started doing 30% water changes each day, despite the lugging back and forth. I was testing the water parameters at this time, and saw a clear increase in…nitrite. This happened during a particularly busy time, and I let it run on for far too long. Two shrimp had passed away by the time I did my research on how to address the problems I was seeing. I purchased SeaChem Prime, Stability, and API’s QuickStart after trying to figure out which PetSmarts had both Prime and Stability. I later found out cheaper ways to access these products, but in the meantime, I was following instructions for dosing each day, while doing water changes. Things seemed to be improving other than the loss of 2 of the original shrimp. I chalked it up to the failure to acclimate.
Intermission: A Rescue Mission
Things were going well, so I finally decided it was time to rescue some of the lake minnows in the garage. I kept them separately in another tub for a couple of weeks before adding them into the large tote (Fig. 7).
Act III: Upgrading the Living Wall
The only issue I was having now, was the plant wall itself. With all the time I spent worrying about the living critters in the tote, I had neglected to figure out a solution for adjusting the wall so that it would stand up straight. I had to check on it daily to make sure it was stable, and was knocking around all sorts of things in the tub to do so. Now that things were stable-ish, it was time to upgrade. I had been regularly keeping an eye on aquariums for sale, both from major online retailers and second hand. The prices of a new aquarium were eye watering.
While searching for a reasonably priced aquarium, I also purchased an air pump and sponge filters. I had a feeling the fabric in the frame likely wasn’t doing as much filtration and supporting denitrifying bacteria like I had expected. This way I would have some additional oxygenation and an extra place for bacteria to grow, just in case the filter in the pump wasn’t doing the trick. I also added an additional piece of filter media into my water circulation pump to provide a far denser spongey material and prevent sucking up any shrimp.
Some weeks later… I got it! An aquarium! With a stand! (Did you know how expensive new aquarium stands are? I was looking at tool shelves as an alternative). It was a whopping 72 gallons. Since it was a second hand purchase, bringing it home was its own adventure. It was also immediately determined that it was far too big and would hold far too much water for any of us to feel comfortable with it on the second floor where I had the current setup. Rip my office living wall.
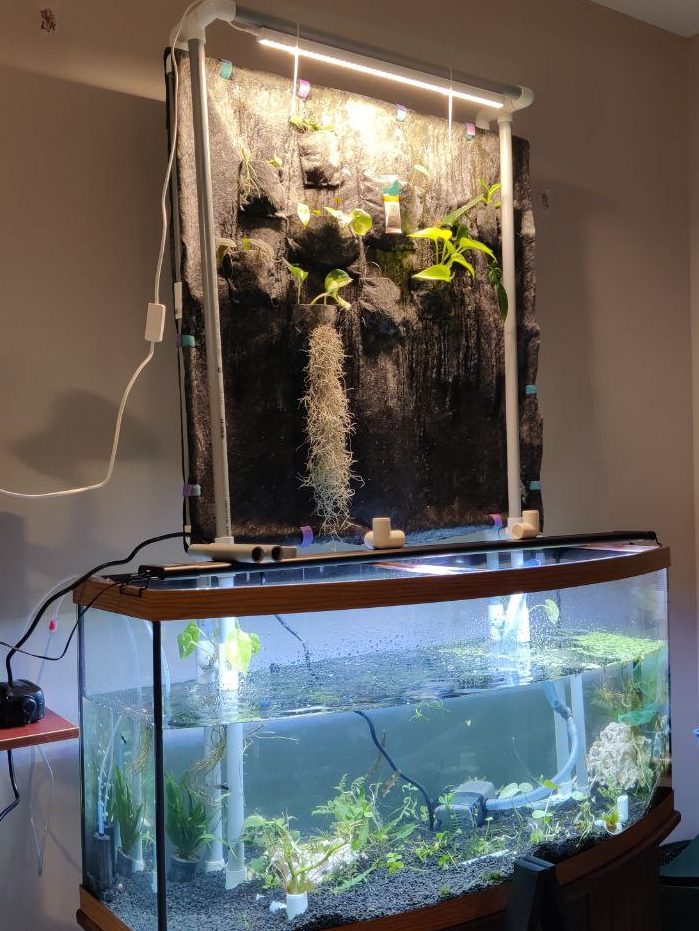
I set it up dry, gave the interior a good wipe down, and took a look at the top of the tank. Yep, as I expected, I would need to elevate the plant wall ABOVE the tank. As it turns out, all tanks with dimensions greater than 48 inches all come with a supporting brace across the top of the tank, presumably to relieve pressure on the glass outwards somehow. I had originally been planning on a support frame anyways, but this meant building a pretty high one, with significant pressure downwards on the glass.
I built the frame (Fig. 8). I’ll bypass the complications here, but it turns out there are multiple brand options when it comes to PVC pipe connectors that inset at different depths. I purchased some weight diffusing egg-crate. I boiled some gravel leftover from a backyard project and weighed it down. I wedged the frame support under the brace and onto the egg crate. I added water. I also purchased some Eco-Complete to weigh it down when it went on sale. There was a questionable trip that involved the back of a warehouse for that one.
I let it sit for a while, then transferred all the fish and shrimp over.
The End: Grand Plans
I had grand dreams of building an urban scape filled with miscellaneous ceramic houses from the thrift shops and letting them overgrow with moss, and a mesh “highway” that the shrimp could use to cross the tank, with a giant mountain on the other end. I knew it would take some time to find all the pieces if I wasn’t going to get anything new, or make the parts myself.
The End?
Everything worked like a dream. My shrimp were happily picking away at the substrate and the walls. My fish were swimming around and constantly looking for food. There were little algal growths happening, copepods were showing up, and my fish were starting to get white specks on their bodies.
Wait.
…my fish were starting to get white specks on their bodies???
The Next Adventure
Wherein several tank diseases rip through the aquarium, I acquire multiple tank syndrome, I find several other vendors, the plants start to settle in on the wall, my “budget” plant wall defies the budget, the fungas gnats return, the baby shrimp make their appearance, and I find a local aquatic plant dealer.
